If I had to boil this down to one line, it’s this: the pre-rut is my best shot at a mature buck in daylight before movement gets harder to predict.
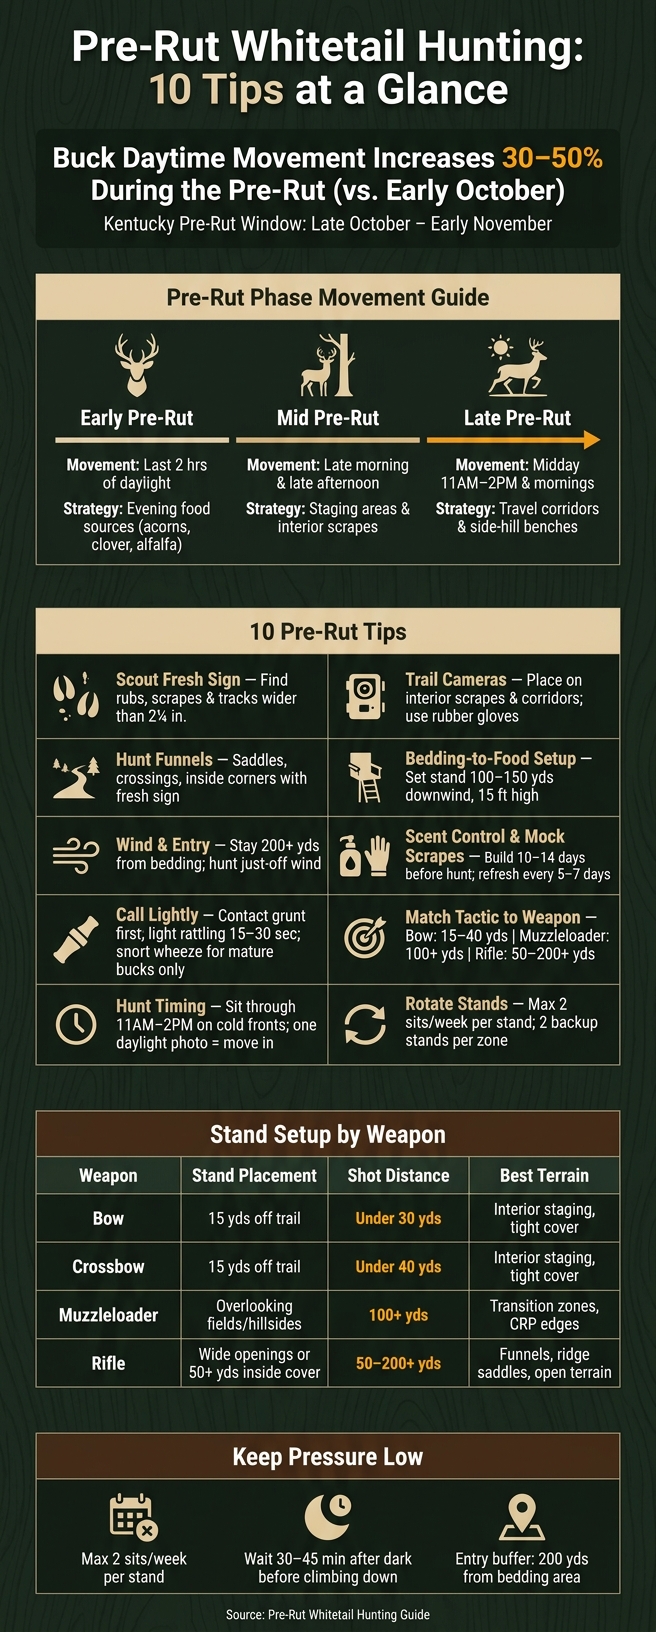
I’d focus on 10 things: read sign, run cameras, hunt funnels, set up between bedding and food, play the wind, control scent, use mock scrapes, call lightly, match the setup to my weapon, and rotate stands before pressure builds. The article also points to a big jump in daytime buck movement during this stretch – about 30% to 50% over early October – and notes that in Kentucky, this window often falls in late October through early November.
Here’s the short version I’d keep in mind:
- Find current buck sign like rubs, scrapes, and tracks
- Watch interior scrapes and travel lines with trail cameras
- Hunt tight travel spots like saddles, crossings, and inside corners
- Set up inside cover, not right on open field edges
- Only hunt a stand when wind and entry are right
- Use scent control and keep scrape setups clean
- Call softly with grunts or light rattling when a buck is close
- Fit the stand to the weapon and expected shot distance
- Sit longer on cold fronts, including late morning and midday
- Rotate stands and limit pressure to keep bucks moving before dark
Pre-Rut Whitetail Hunting: 10 Tips by Weapon, Timing & Stand Type
Pre-Rut Whitetail Hunting Playbook | Buck Movement, Scrapes & Stand Setup Strategies
sbb-itb-e01ab49
Quick Comparison
| Tip | Main job | Best time/use |
|---|---|---|
| Scout sign | Find current movement | Start of pre-rut |
| Trail cameras | Check daylight use with low pressure | On scrapes and corridors |
| Funnels and pinch points | Narrow movement into range | Morning and evening |
| Bedding-to-food setups | Catch bucks before fields | Evening first |
| Wind and entry | Keep scent out of bedding | Every hunt |
| Scent control and mock scrapes | Hold scrape activity and pull bucks close | 10–14 days before hunt |
| Calling | Turn a passing buck | When a buck is already near |
| Match tactics to weapon | Set shot distance and stand spacing | Every setup |
| Hunt timing and longer sits | Catch movement spikes | Cold fronts, 11:00 AM–2:00 PM |
| Rotate stands | Cut pressure and avoid night-only movement | All pre-rut |
Bottom line: if I were hunting this window, I’d hunt the most current sign, stay out of bedding cover, and move fast when I got even one daylight camera photo of a buck I wanted to tag.
How Buck Behavior Changes During The Pre-Rut
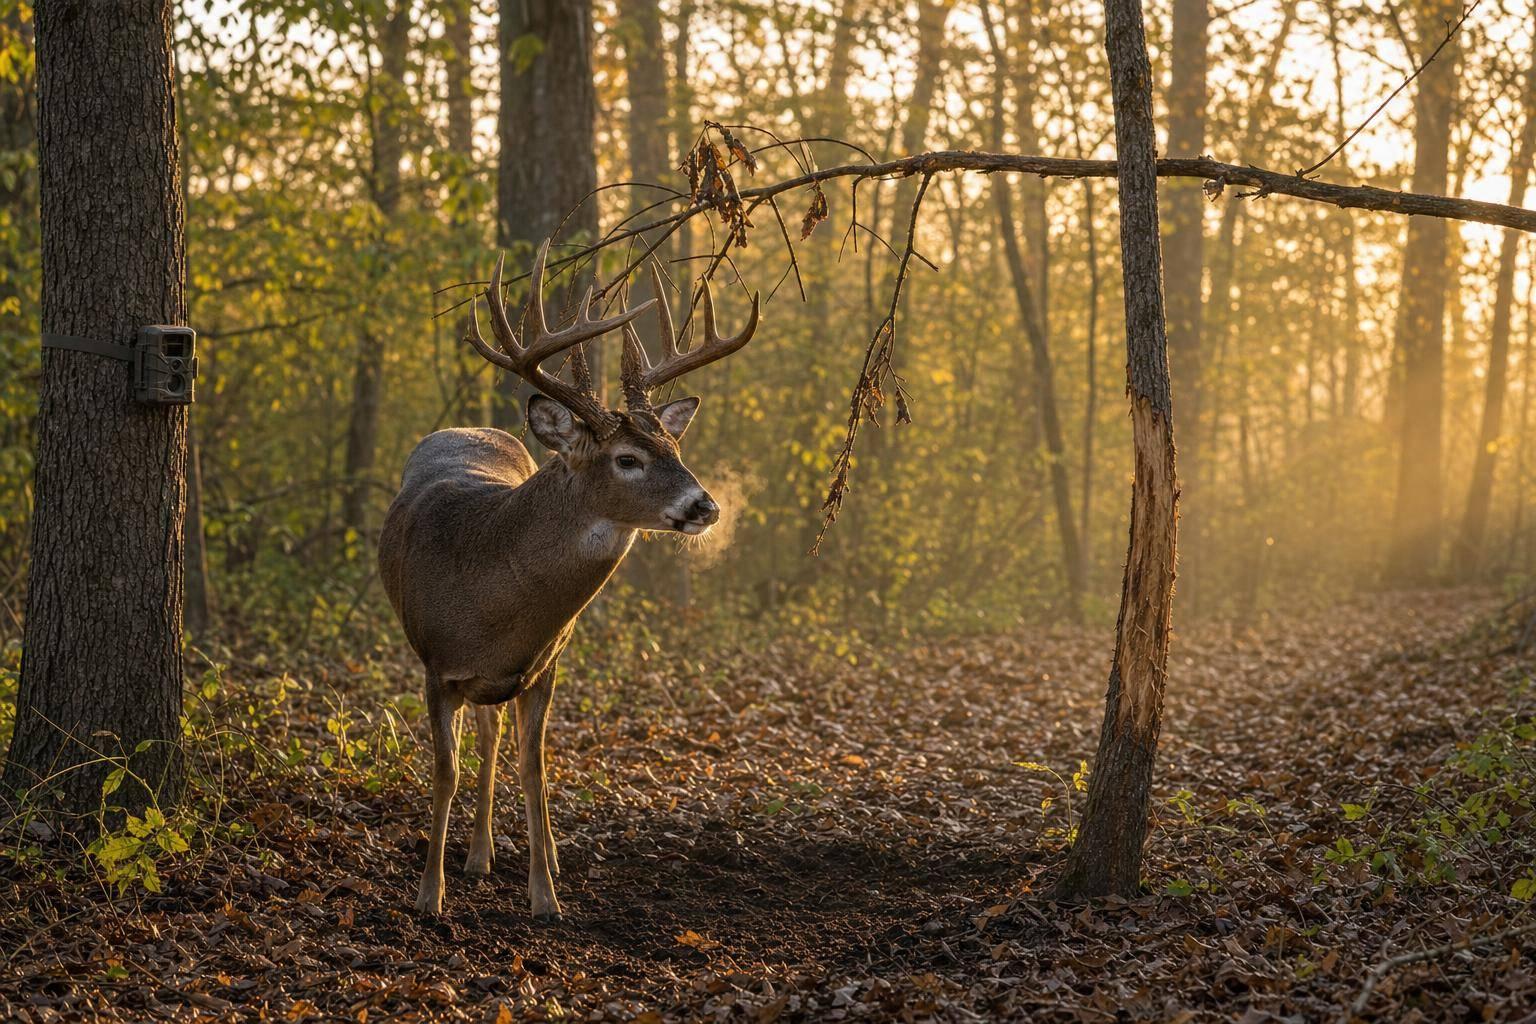
As daylight gets shorter and testosterone climbs, bucks stop acting like laid-back summer deer. Bachelor groups split up. Feeding stops being the main event. Instead, bucks spend more time rubbing trees, working scrapes, and checking travel routes for doe scent. Their necks thicken up, and sparring picks up fast. Big community scrapes at field corners and trail intersections start getting hit on a regular basis.
Use the phase below to match your setup to the buck’s current pattern during ultimate whitetail hunts in Kentucky.
| Phase | Primary Movement Window | Best Strategy |
|---|---|---|
| Early Pre-Rut | Last 2 hours of daylight | Evening food sources – acorns, clover, alfalfa |
| Mid Pre-Rut | Late morning & late afternoon | Staging areas and interior scrapes |
| Late Pre-Rut | Midday (11 AM–2 PM) & mornings | Travel corridors and side-hill benches |
In the early pre-rut, bucks still move on that bedding-to-food line, but now they often pause to freshen scrapes and rubs along the route. Mature bucks tend to stage 100–200 yards inside cover and stay out of open fields until after dark.
As the rut gets closer, bucks start cruising parallel trails 20–40 yards inside the timber so they can scent-check doe groups without showing themselves in the open. That’s why midday sits can pay off, especially right after cold fronts.
"The late pre-rut is when a mostly nocturnal buck will start moving in daylight, but you have only a handful of days to kill him in his core area." – Steve Stoltz, Pro Staffer, Mossy Oak
These changes usually show up first in fresh sign and in the travel routes bucks are using right now.
1. Scout For Fresh Sign And Buck Movement
Fresh Sign And Buck Movement
Fresh sign shows up fast when bucks start leaving their summer routines. Fresh rubs on bigger trees often mark the routes they use to move between bedding and food. And when you find a string of bigger rubs, it often points back toward bedding cover.
Scrapes can tell you even more. A community scrape is usually 2–4 feet wide and often sits at a trail intersection or a field corner. That makes it a high-traffic communication spot used by more than one buck. And here’s the part many hunters key in on: the licking branch matters more than the scrape bed itself.
Field-edge scrapes often get hit after dark. So if you’re trying to find daylight movement, put your attention on interior scrapes back in the timber. Staging areas near bedding cover are a smart place to look because bucks are more likely to show there before nightfall. In Kentucky timber, creek bottoms where several drainages come together can stack up buck sign in one place, which makes them worth checking early in the pre-rut.
Tracks can help too. If you find prints wider than 2¼ inches, you’re usually looking at a mature buck.
Once you confirm fresh sign, place cameras on those scrapes and travel routes.
2. Place Trail Cameras On Scrapes And Travel Corridors
Once you’ve found fresh sign, trail cameras help you cut down on return trips and keep pressure low. They also show you which routes bucks are using right now. That gives you a much clearer read on where to move your stand so you can intercept that movement instead of guessing.
Camera Placement And Scent Control
Put most of your attention on interior scrapes tucked back in cover near bedding areas. That’s often where daylight movement shows up first. Set cameras downwind of the scrape, about 4 feet high, and aim them at the licking branch. If deer in your area are pressured, hang cameras higher and angle them downward.
Scent control matters here. A lot. Wear rubber gloves every time you handle a camera or touch a licking branch. Human scent on a scrape can cause bucks to abandon it or limit visits to nighttime only.
For bowhunters, camera intel can lead straight to a close-range setup. One good move is building a mock scrape along a known travel corridor under a natural licking branch 4 to 5 feet off the ground. Done right, it can pull bucks into range within 20 yards.
If you’re hunting with a firearm, cameras on staging areas and pinch points can tell you whether a buck is moving during legal shooting light before he reaches the field.
Pressure Reduction
Cellular trail cameras are a strong fit for your most active scrapes. Real-time photos mean you can wait to move in until a shooter buck starts showing daylight activity.
"The late pre-rut is when a mostly nocturnal buck will start moving in daylight, but you have only a handful of days to kill him in his core area. So I place cellular trail cams on active scrapes, and when I start getting daytime pics, I move in immediately and hunt." – Steve Stoltz, Pro Staffer, Mossy Oak
If you need to check cameras in person, use creek bottoms or swales to hide your approach and help manage thermals. Keep your access route at least 200 yards away from suspected bedding areas. Once the cameras show where daylight movement is happening, shift your setup to the funnels that force that movement into range.
3. Hunt Funnels, Pinch Points, And Inside Corners
Funnels, pinch points, and inside corners push bucks into tight travel routes. That makes them strong pre-rut stand spots. But terrain by itself doesn’t prove much. Fresh sign is what tells you a buck is using that route now.
Fresh Sign Confirms the Funnel
Fresh sign is what confirms a funnel. A map can point you in the right direction, but it can’t tell you whether bucks are moving through that spot this week.
Focus on crossings, saddles, fence gaps, thick draws, and trail intersections that show repeat use. Fresh rub lines and tracks are the giveaway. If the sign is old or scattered, the spot may look good without producing much.
Access And Wind
Get in using terrain that hides your approach. Then set up so your wind drifts just off the buck’s main travel line. That’s the sweet spot.
Bucks use these routes with more confidence when the wind works for them. If your entry blows the area up or your scent washes right into the line of travel, the setup falls apart fast.
Match the Stand to Your Weapon
| Terrain Feature | Best Weapon Fit | Why It Works |
|---|---|---|
| Creek Crossing / Fence Gap | Bow / Crossbow | Forces tight, close-range movement |
| Inside Corners (Ag Fields) | Bow / Rifle | Bucks cut inside cover while scent-checking |
| Ridge Saddles / Benches | Muzzleloader / Rifle | Opens a wider cruising lane |
| Thick Draws | Bow / Crossbow | Connects bedding and food in security cover |
Once you’ve confirmed the funnel, only hunt it when wind and access let you slip in clean.
Don’t Overhunt the Funnel
Treat your best funnel carefully. Hunt it sparingly, and if daylight movement drops off, make a move.
After you nail down the main funnel, start shifting to stands that catch bucks traveling between bedding and food. That’s often the next step when a hot route cools off.
4. Position Stands Between Bedding And Food Sources
When bucks stop showing up in open feeding patterns, shift to the route between cover and food. The goal is simple: find the line that runs from thick bedding cover to a staging area and then out to food. Mature bucks tend to use that edge instead of stepping across open ground in daylight. And the scrapes that matter most here are interior scrapes inside that cover, not the ones on the field edge. Those are the spots most likely to see action during legal shooting hours.
After you find that route, the stand only works if your wind and entry are right. Set up 100–150 yards downwind of the place where you expect the buck to leave his bedding area. A slight crosswind is your friend here. It should carry your scent off the trail without pushing it into the bedding side. For access, come in from the food side or use terrain that keeps your approach away from the buck’s exit path. Hang the stand at least 15 feet high and place it about 15 yards off the main trail, so a buck walking that line doesn’t stare straight at you before he’s in range.
Keep the setup close to the travel line, then let your weapon decide the final distance. In plain English: set up tight enough to catch the buck before he reaches the field, but far enough to fit your effective range.
For this setup, hunt evenings first. If you need help scouting these transitions, contact your dedicated Kentucky hunting guide to plan your trip.
5. Manage Wind, Thermals, And Entry Routes
Wind matters more than scent products. Once you know the route, wind and access decide if a spot is huntable at all. Only hunt when your wind and entry route keep scent out of bedding cover.
Stand Access And Wind Advantage
Keep your entry route at least 200 yards below any suspected bedding area. That buffer gives you a better shot at staying out of a buck’s nose. Use benches and ridge lines to stay below the beds, and to cut the odds of pushing scent into them. Before the hunt, rake a quiet path in. Dry leaves can blow the whole setup.
Thermals shift during the day, and they can wreck a good plan if you ignore them. Morning thermals rise. Evening thermals fall into hollows and creek bottoms. So if you’re hunting a low setup, expect your scent to sink into the drainage as the air cools.
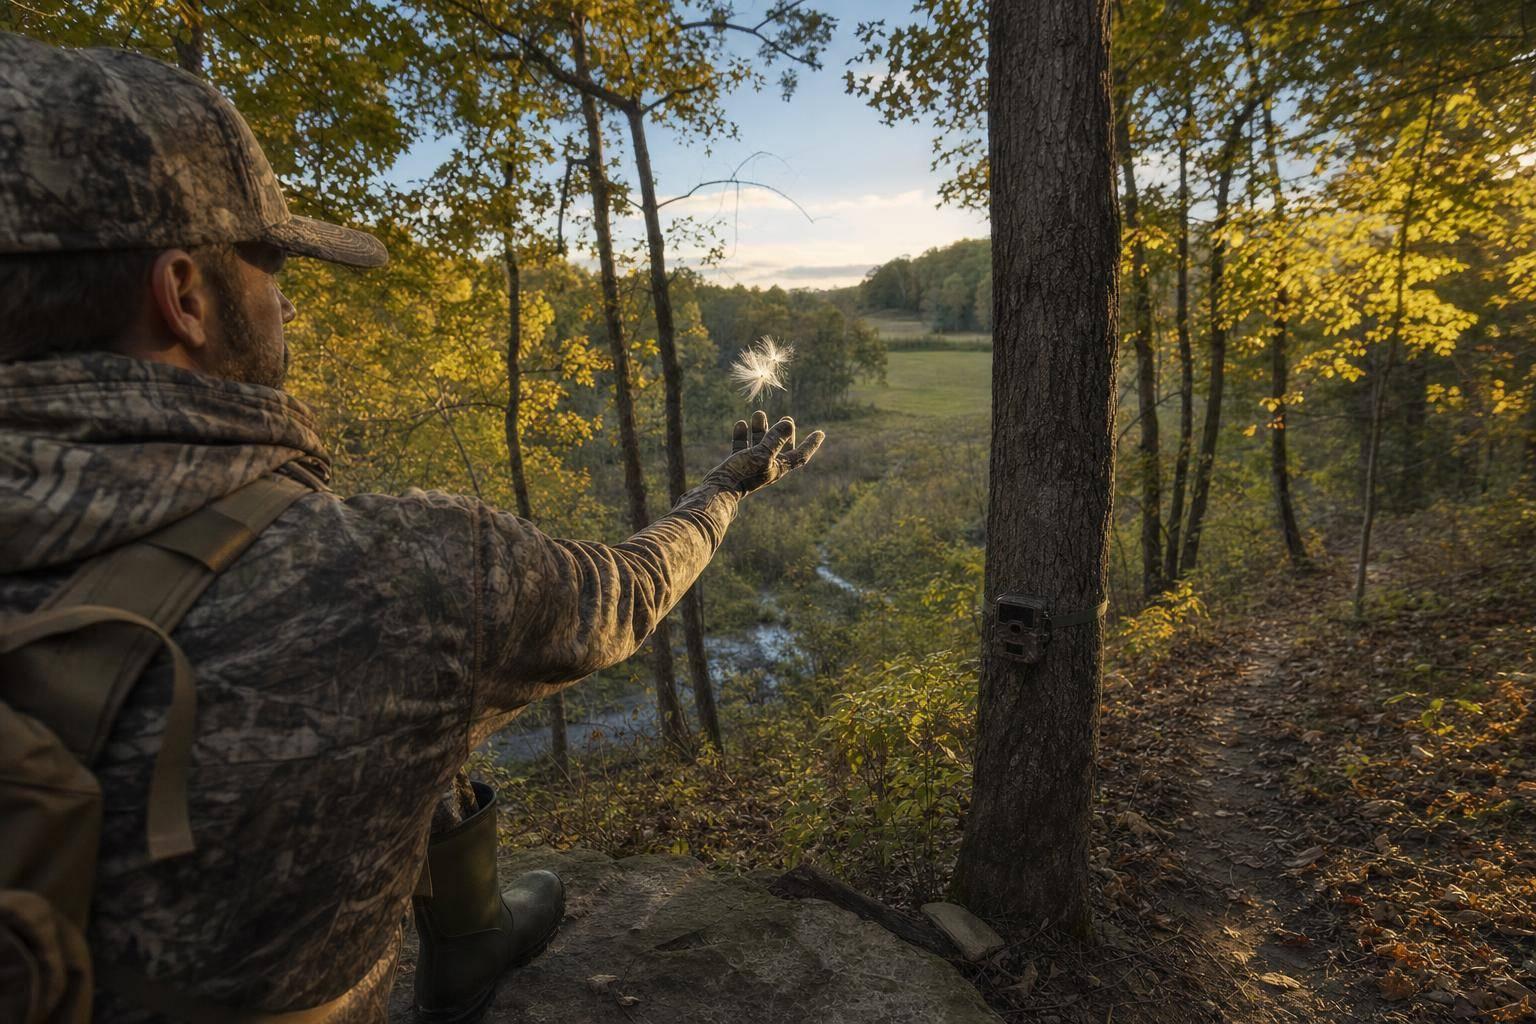
Use a just-off wind to keep your scent cone off the trail while the buck still feels fine using the route.
With wind and thermals handled, the next move is a clean scent plan.
Weapon-Range Fit
Your setup should fit the weapon in your hands. An archery spot isn’t the same as a rifle spot, and the wind buffer shouldn’t be the same either.
| Weapon Type | Recommended Setup | Ideal Range | Wind Strategy |
|---|---|---|---|
| Archery / Crossbow | Interior scrapes / staging areas | 15–40 yards | Just-off wind or crosswind |
| Muzzleloader | Hillside benches / CRP field edges | 50–100 yards | Downwind of bedding exits |
| Rifle | Funnels / transition corridors | 100–150+ yards | Long-range downwind buffer |
Pressure Reduction
If deer are still out at last light, wait 30–45 minutes after dark before you climb down.
That kind of clean access sets up scent control and scrape work next.
6. Apply Scent Control And Build Mock Scrapes
After wind and access, scent is the next thing that can wreck a scrape setup. Start scent control before you even leave the truck. Ozone-treat or wash all clothing, put on unscented rubber boots, and spray your boots and lower legs with scent eliminator before stepping into the woods. One bad entry can shut down a scrape for 48–72 hours.
Focus On Interior Scrapes
Put your time into interior scrapes under a licking branch, not field-edge scrapes. Daylight movement happens inside cover, not out along open edges. During the pre-rut, bucks are already cruising and checking branches for fresh odor. That’s why a well-placed mock scrape with the right scent can bring them into range.
To build one, clear the soil with a stick, wear rubber gloves, and apply tarsal gland-based scent or non-estrus doe urine to the bare ground and the licking branch. Build mock scrapes 10–14 days before the hunt.
Stand Access And Wind Advantage
Don’t hang right over the scrape. Set your stand 20–40 yards downwind, and plan your entry so you never cross the buck’s expected downwind approach path.
Weapon-Range Fit
For bowhunters and crossbow hunters, place a mock scrape 10–15 yards downwind of your stand. That can pull a cruising buck into bow range and help set up an ethical shot. For rifles and muzzleloaders, use scrapes as checkpoints in a shooting lane.
Pressure Reduction
Keep pressure low. Limit sits at any single stand to two per week during the pre-rut. A cellular trail camera helps you watch scrape activity from a distance, so you’re not burning entry routes just to check photos.
Refresh mock scrapes every 5–7 days or right after heavy rain. Use non-estrus doe or tarsal scent early, then save doe-in-estrus scent for late October.
Once the scrape starts getting regular daytime use, shift into light calling and finish work.
7. Call With Grunts, Light Rattling, And Snort Wheezes
Calling can turn a buck that’s just passing through into a shot you can take. The key is simple: start soft, build slowly, and quit the second he gives you a sign. Begin with a contact grunt. If he stalls or hangs up, then add more.
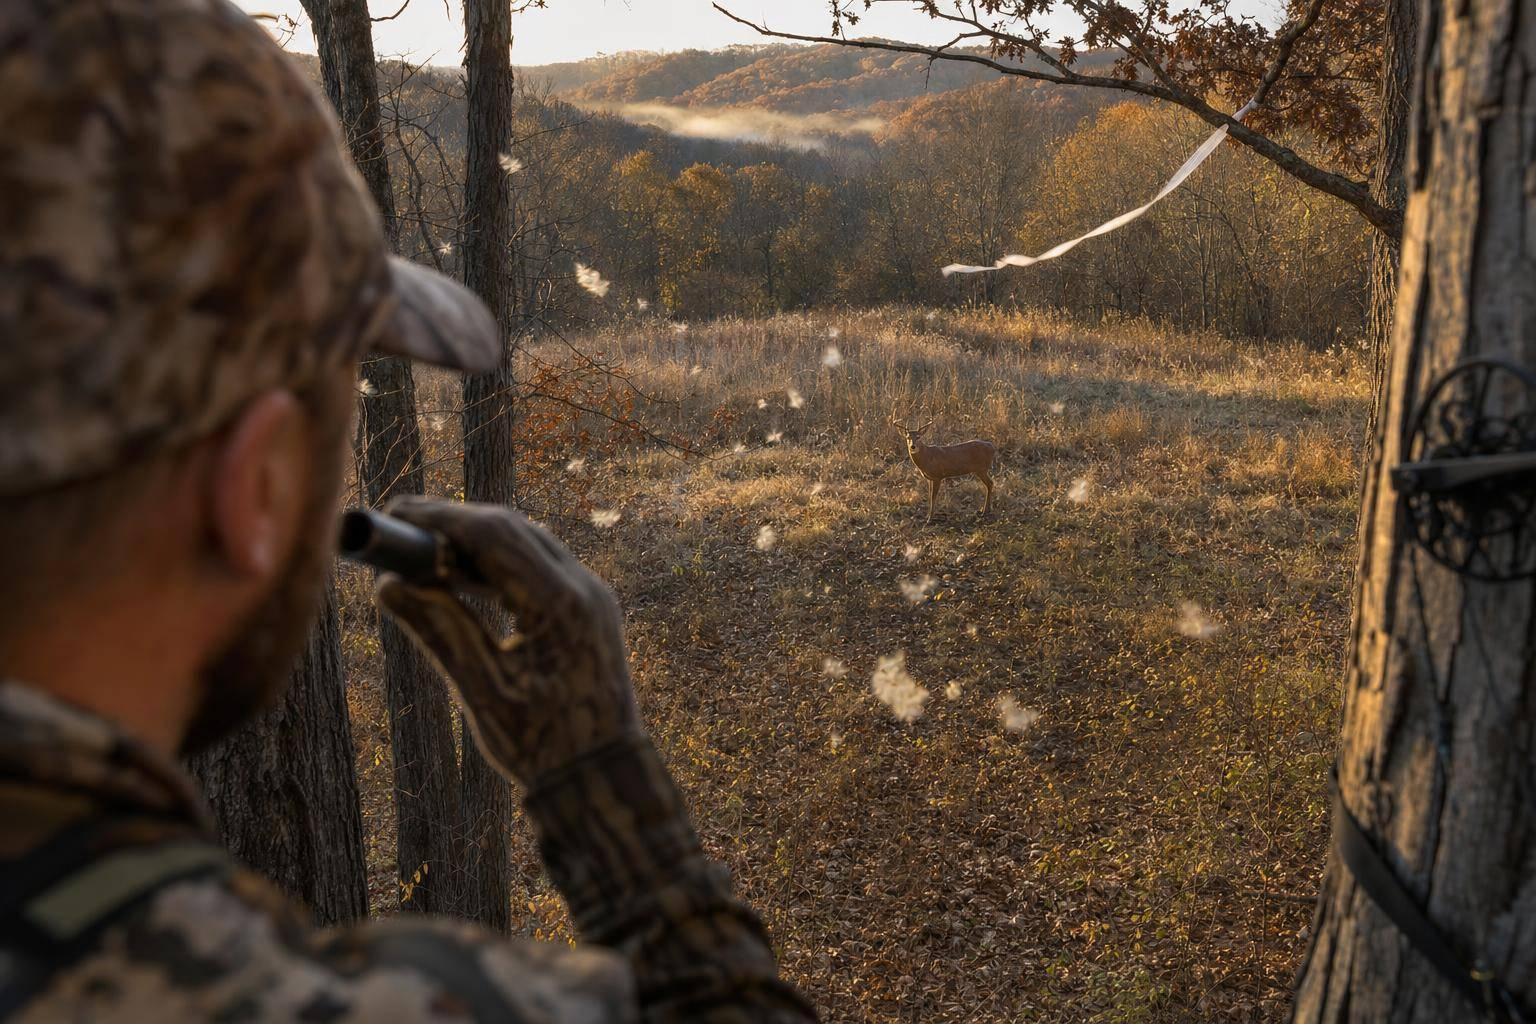
Only call when fresh sign tells you a buck is already working the area. A contact grunt is short and low-pressure, almost like a buck checking in. The moment he reacts, stop. If he ignores it, try light rattling for 15–30 seconds to mimic young bucks sparring. Save the snort wheeze for a mature buck that’s moving off or one that’s plainly aggressive and territorial.
Wind and terrain matter just as much as the sound. Call only when the lay of the land keeps the buck from making an easy downwind circle. Bucks often want to swing downwind before they commit. Your job is to let him feel like he can get the wind without letting your scent drift into that line of travel.
For close-range setups, stick with soft calls. If you’re set up to finish at longer range, you can lean a bit harder on stronger calls. Bowhunters and crossbow hunters can also pair soft calling with a buck decoy set about 15 yards from the stand and quartering toward it.
Don’t overdo it. Calling every deer is like overplaying your hand in poker. Use one short sequence, then watch what happens. If nothing changes, stop. Keep the aggressive stuff for bucks that are leaving or stuck out of range, and use the lightest call that still brings the deer into your effective range.
8. Match Your Tactics To Your Weapon
Once you’ve picked the trail, your weapon tells you how close you need to be. It shapes your range, the kind of cover you can use, and how far your stand should sit from the action. Bow and crossbow hunters need tighter setups. Muzzleloader and rifle hunters have more room to work and can use longer sightlines.
| Weapon | Stand Placement | Shot Distance | Best Use |
|---|---|---|---|
| Bow | 15 yards off the trail | Under 30 yards | Interior staging areas, tight cover |
| Crossbow | 15 yards off the trail | Under 40 yards | Interior staging areas, tight cover |
| Muzzleloader | Overlooking fields or hillsides | 100+ yards | Transition zones, staging areas |
| Rifle | Wider openings or 50+ yards inside cover | 50–200+ yards | Funnels, ridge saddles, open terrain |
For bow and crossbow hunters, the margin is small. You need to finish inside 40 yards, which means your setup has to be tight and clean. For bowhunters in particular, that usually means clear shooting lanes in a 20- to 40-yard radius. If branches, brush, or one bad angle can ruin the shot, the stand is too loose.
Muzzleloader and rifle hunters can back off and let the terrain do more of the work. Natural openings, field edges, hillsides, and longer sightlines give you more freedom. That makes these weapons a better fit for wider openings, transition zones, funnels, and ridge saddles.
Once the weapon fit is dialed in, timing and sit length decide when that setup pays off.
9. Pick The Right Times To Hunt And Sit Longer
Once your stand matches your weapon, timing is what turns a decent setup into a shot chance.
Weather Triggers And Midday Movement
Cold fronts are the main movement trigger. When the temperature drops hard, bucks tend to stay up and moving later in the morning and get on their feet earlier in the afternoon. And you don’t need a pile of daylight pictures to make a move. One daylight photo in a week is enough to justify slipping in. Save all-day sits for cold fronts and full-moon periods.
When those conditions hit, don’t treat the hunt like a quick in-and-out morning or evening sit. Stay put through the midday lull. The 11:00 AM to 2:00 PM window is a real second peak, because bucks often move when the woods calm down and most hunters have already gone back to camp.
Stand Access And Wind Advantage
Morning sits only work when you can get in quietly and stay out of bedding cover. If your entry route risks blowing deer out, don’t force it. Hunt that stand in the afternoon instead.
Weapon-Range Fit
For bowhunters, the seeking phase of the pre-rut beats peak rut for one simple reason: bucks are moving with intent, but usually not so fast that they blow through bow range without giving you a shot. That gives you a better shot at a clean, stationary opportunity.
A mock licking branch over a trail can help tip the odds your way. Instead of hoping a buck stops on his own, set the branch where you want him to pause – right in your kill zone.
Pressure Reduction
Sitting longer doesn’t mean hammering the same stand every day. Cap any single stand at two sits per week so mature bucks don’t shift to after-dark movement.
A few habits help keep a stand from burning out fast:
- If deer are still in sight when legal shooting light ends, wait 30 to 45 minutes after dark before climbing down.
- After a strong sit, back out and let the stand rest until the next high-odds window.
- Too much pressure kills daylight movement fast.
If you bump deer off a food source at last light, the damage can happen in a hurry. Sometimes the smart play is simple: sit longer, leave cleaner, and give the spot a break.
10. Cut Hunting Pressure By Rotating Stands
When a stand goes cold, rotate it before bucks start reading your routine. If you hunt the same stand too much, pre-rut daylight movement can dry up in a hurry. A mature buck can shift to nocturnal movement within days once he feels that pressure.
Fresh Sign And Buck Movement
Move to the freshest interior scrape or active travel line, and don’t drag your feet when mast starts pulling deer in a new direction. When mast hits the ground, Kentucky bucks often stop keying on food plots and head back into the timber.
Stand Access And Wind Advantage
Have a second stand ready for a different wind. That way, you can switch setups without blowing up your entry route.
"A stand that gives a buck the wind without putting you in his scent cone can be deadly."
Weapon-Range Fit
Each stand should fit the weapon you’re carrying that day. A bow setup, for example, needs tighter shot windows than a rifle setup.
Use the table below to keep each rotation clean, quiet, and lined up with the day’s wind and weapon.
| Stand Feature | Recommended Setup | Why It Matters |
|---|---|---|
| Rotation limit | Max 2 sits per week | Helps keep bucks from going nocturnal |
| Backup stands | 2 stands per zone | Gives you options when the wind changes |
| Entry buffer | 200 yards from bedding | Helps you avoid bumping deer in core cover |
| Scrape focus | Interior/staging areas | Better shot at daylight visits |
Stand Location Comparison Tables
After you scout sign, hang cameras, and pick funnels, these tables help you choose the setup that’s easiest to hunt well. Think of them as a quick cheat sheet for lining up stand location, wind, and hunting pressure with pre-rut deer movement.
| Stand Type | Best Time of Day | Ideal Wind | Pressure Risk | Common Shot Distance |
|---|---|---|---|---|
| Funnels / Pinch Points | Morning & evening | Crosswind or leeward | Moderate | 15–25 yards |
| Field Edges | Last 2 hours of daylight | Just-off, with scent blowing away from the field | High | 30+ yards |
| Bedding/Staging Areas | Morning or early afternoon | Leeward edge of cover | Very High | 10–20 yards |
Scrapes can narrow the choice even more when travel routes are easy to read. The goal is to match scrape type with pressure, access, and shot distance.
One point matters most: placement matters more than scrape type. Interior scrapes near staging areas usually give you better access and less pressure risk than field-edge scrapes.
| Scrape Type | Pros | Drawbacks | Best Placement | Ideal Pre-Rut Timing |
|---|---|---|---|---|
| Natural (Community) | High traffic; multiple bucks; established social hub | Often visited after dark on field edges; can be pressure-sensitive | Trail intersections, ridge saddles, field corners | Mid-October to peak pre-rut |
| Mock Scrape | Can be placed in a shooting lane; triggers dominance behavior | Requires strict scent control; can be ignored | Known travel corridors, near staging areas | Early pre-rut |
Use rubber gloves and a stick so you don’t contaminate the site.
Pick the table match that fits best, then make sure the stand is legal and safe to hunt.
Kentucky Regulations, Tree-Stand Safety, And Shot Selection
Before you slip into your best pre-rut stand, get the rules, safety steps, and shot angles straight.
Check current KDFWR rules before you hunt. Archery and crossbow seasons open before the pre-rut, and early muzzleloader often overlaps that window. Statewide, you’re allowed only one antlered deer per license year. Check current KDFWR tag limits before heading out. If you’re hunting with a bow or crossbow, your broadheads must expand to at least 7/8 inch. If you’re using a centerfire firearm, it must fire one round per trigger pull, use expanding bullets, and have a magazine capacity of no more than 10 rounds.
When muzzleloader and modern gun seasons are open, wear solid hunter orange on your head, back, and chest. And when it comes to tree stands, don’t cut corners. Wear a full-body harness every time your feet leave the ground, including the climb up and the climb down. Check every strap, bolt, and step before the season starts, then look them over again before each hunt.
Once the legal side and stand prep are handled, stay disciplined on the shot.
Before moving the carcass, log the species, sex, date, and county. Telecheck it the same day, and attach the required tag before any transfer. Hunting in a CWD Surveillance Zone? Don’t move whole carcasses out of those zones. Only deboned meat, clean skull plates, antlers, and hides can leave.
For shot selection, keep it simple: take only broadside or quartering-away shots. In Kentucky’s hilly terrain, that matters. Practice at different angles and distances that match the hillside and timber settings common across the state.
Conclusion
The pre-rut is a short, productive window. In most areas, it lasts about two weeks before peak rut movement takes over.
You only keep that edge if hunting pressure stays low. Success comes from finding fresh sign, setting stands in interior spots, and keeping wind and scent under control. Overhunt one stand, and a mature buck can go nocturnal within days.
You also need to stay flexible. If food sources change, move with them right away.
The formula is simple: fresh sign tells you where to hunt, wind tells you when to hunt, and low pressure keeps bucks on their feet in daylight. No matter what weapon you carry, the playbook stays the same: read fresh sign, protect your wind, rotate stands, and keep pressure low. The hunters who make the most of this window stay mobile, read the woods well, and hunt clean.
FAQs
How do I know when pre-rut starts in my area?
Watch for more new scrapes along field edges and at trail intersections, more rubs, and bucks showing up on trail cameras during daylight. You may also notice swollen necks, which is another common sign.
Timing can shift quite a bit depending on where you hunt, so it helps to check with your state wildlife agency or local wildlife biologists for estimates in your area. In Kentucky, pre-rut usually runs from late October into early November.
What fresh sign matters most for daylight buck movement?
The sign that matters most is actively maintained rubs and scrapes.
Tracks and trails tell you a buck is in the area. But they only show general presence. Fresh rub lines and scrapes along travel corridors, ridge lines, or near food sources tell you a lot more. They point to current movement and a route the deer is still using.
A mature buck on a trail camera during legal shooting hours – even once in a 7-day period – is a strong sign of daylight movement. In that case, the best stand location is the downwind side of his established route.
When should I move stands instead of waiting a spot out?
Move your stand when the spot just isn’t producing and you have a solid plan to shift without wrecking the rest of your season. A bigger move is worth it when a target buck is showing up in daylight, and the wind, temperature, and pressure all line up in your favor.
If the conditions are working against you, or you can’t move in without tipping deer off, stick with safer setups until rut activity picks up. No matter where you hunt, use access routes that keep you from spooking deer.